Windows 10上安装Linux子系统
这段时间一直在学习一些 Linux 系统的基础知识,感觉还不错。虽然工作上是不可能用到这方面的知识,纯属个人爱好而已,也当作是给自己扩展一下技能。
话说 B 站这方面的学习课程还真够完善的,由浅入深的视频课程都能完整的找到,真好!当然啦,理论和实操要相结合才能记得牢固,所以今天做个小笔记,在 Windows 10 上安装一个 Linux 子系统。
安装
先安装一个工具——「Windows Terminal」。有关 Windows 终端程序的相关说明请自行找度娘,安装这玩意主要是能很方便地操作我们接下来安装的 Linux 子系统。
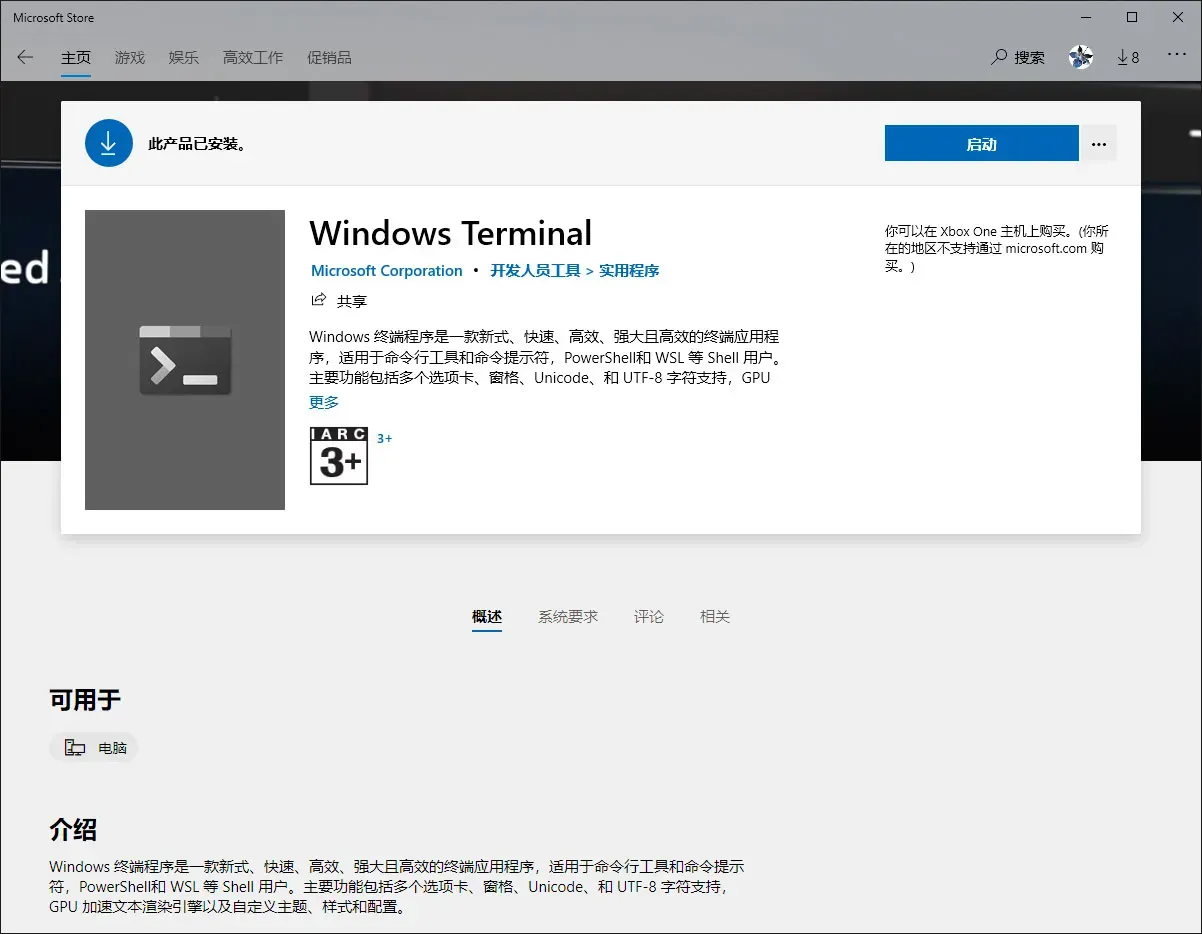
在 Microsoft Store 上直接安装就好了,也可以去github上下载自行安装。
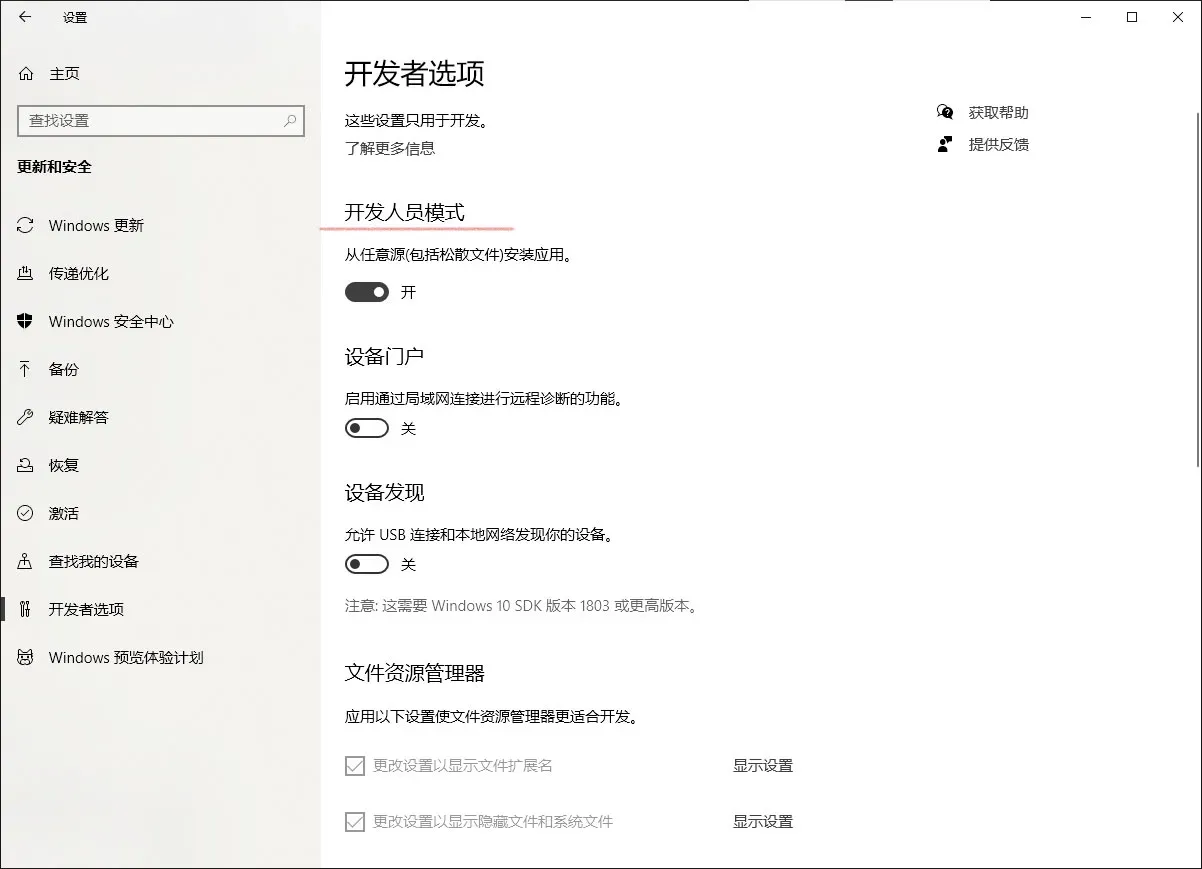
接下来到 Windows 设置里修改两个地方

- 打开『更新和安全』,开启『开发人员模式』。
- 打开『应用』,点击右上角的『程序和功能』
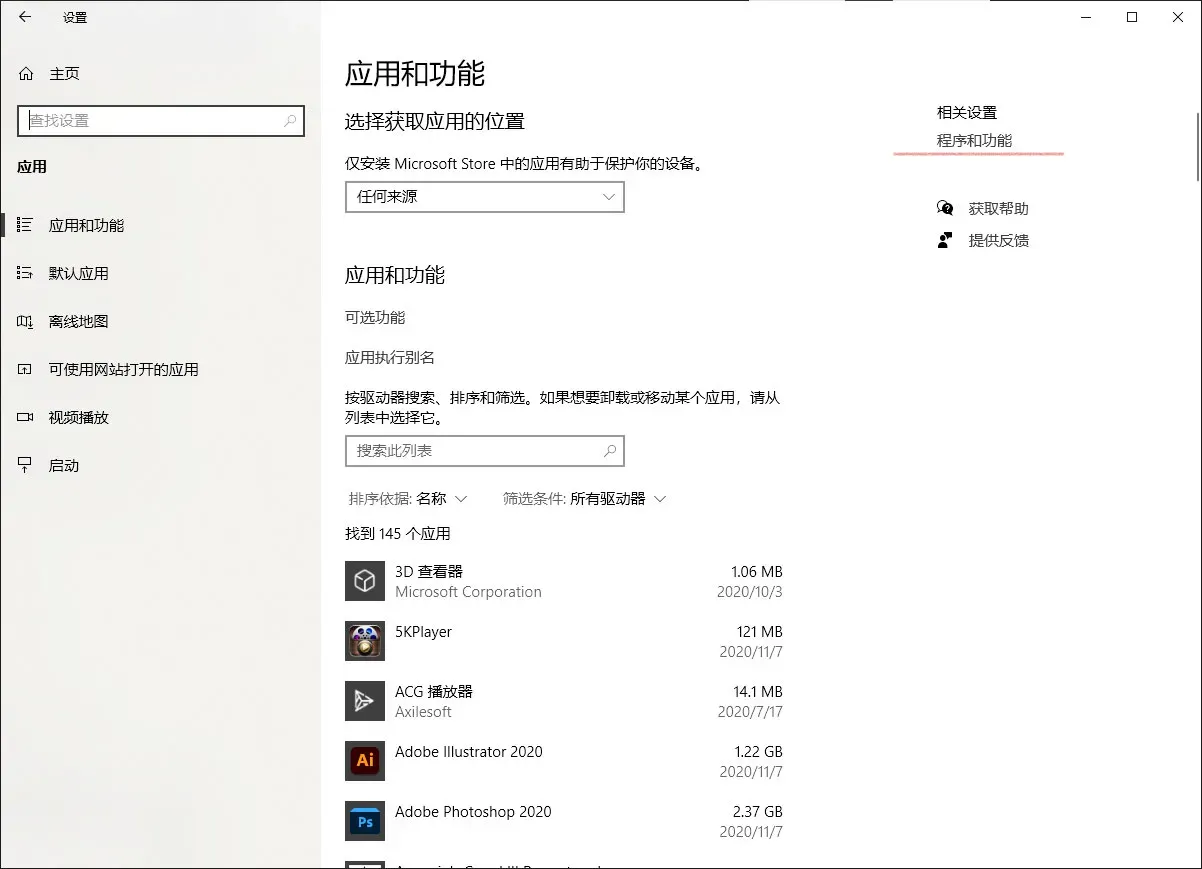
点击『启用或关闭 Windows 功能』
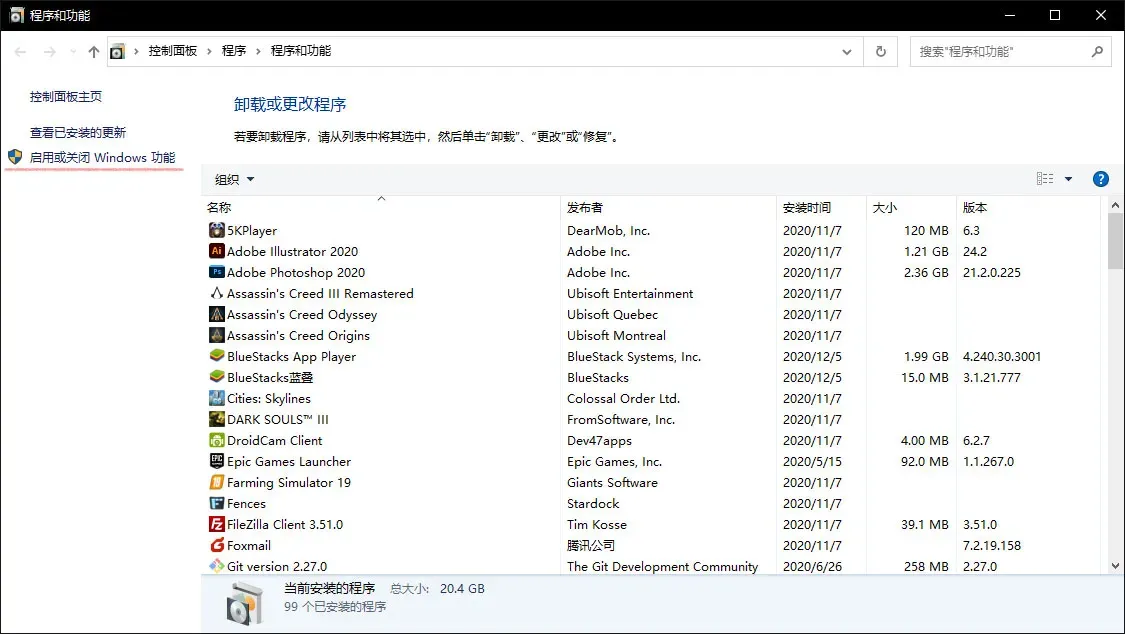
找到『适用于 Linux 的 Windows 子系统』,勾选后确定。
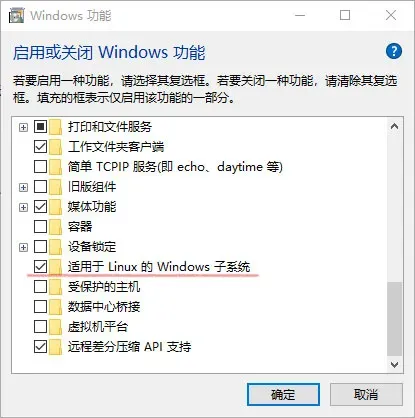
这时会提示重启系统,重启完成后就可以安装 Linux 系统了。
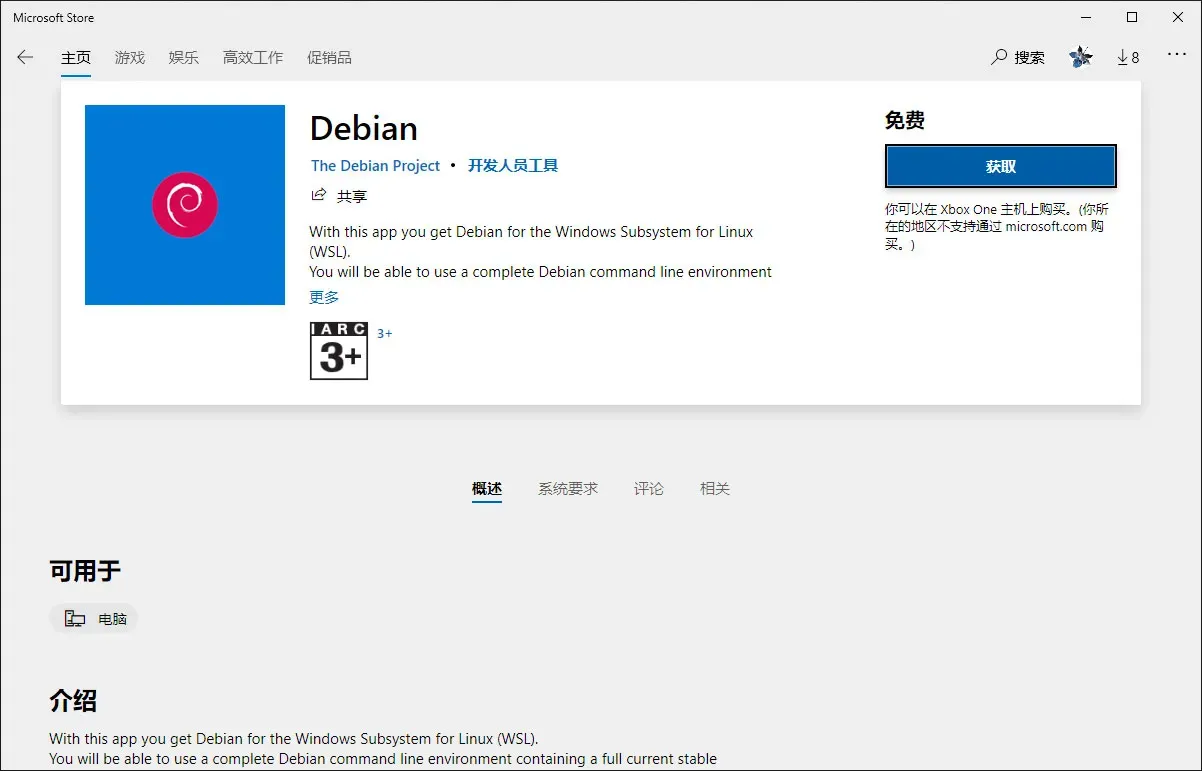
以安装 Debian 为例,打开 Microsoft Store 搜索 Debian,获取安装。
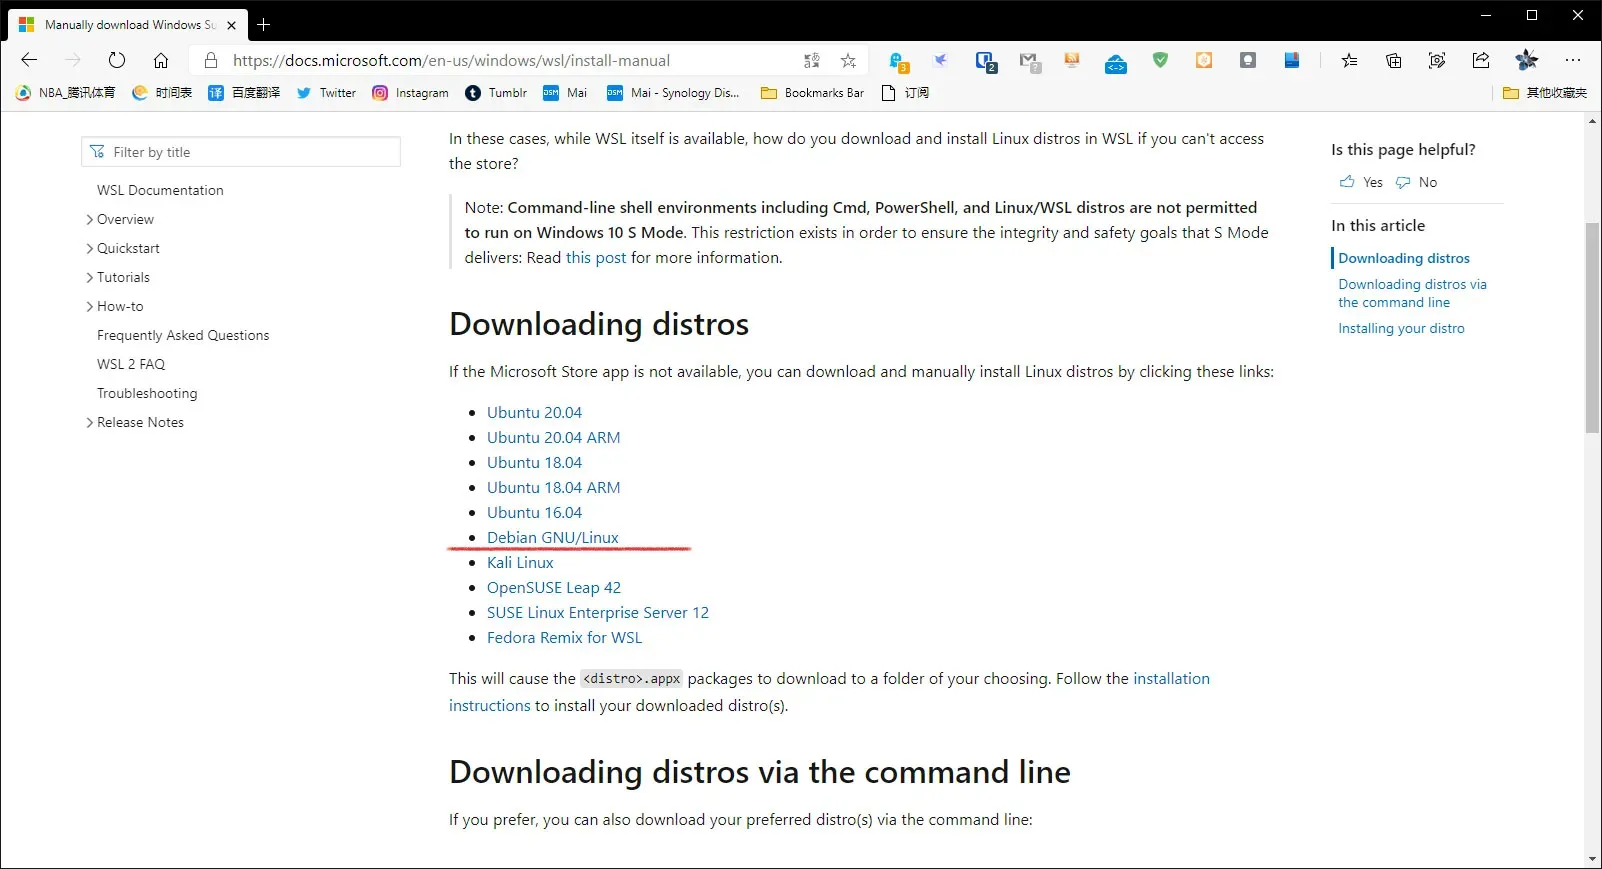
因为我的电脑 C 盘磁盘空间容量很小,所以这里我选择了另外一种方法安装,将子系统安装在 D 盘。
输入网址https://docs.microsoft.com/en-us/windows/wsl/install-manual,下载我们需要的系统。
下载完成后我们会得到一个后缀名为.Appx 的文件,这时我们将文件的后缀修改成.zip 并将文件移动到你要保存 Debian 系统的文件夹,将文件解压到当前目录。
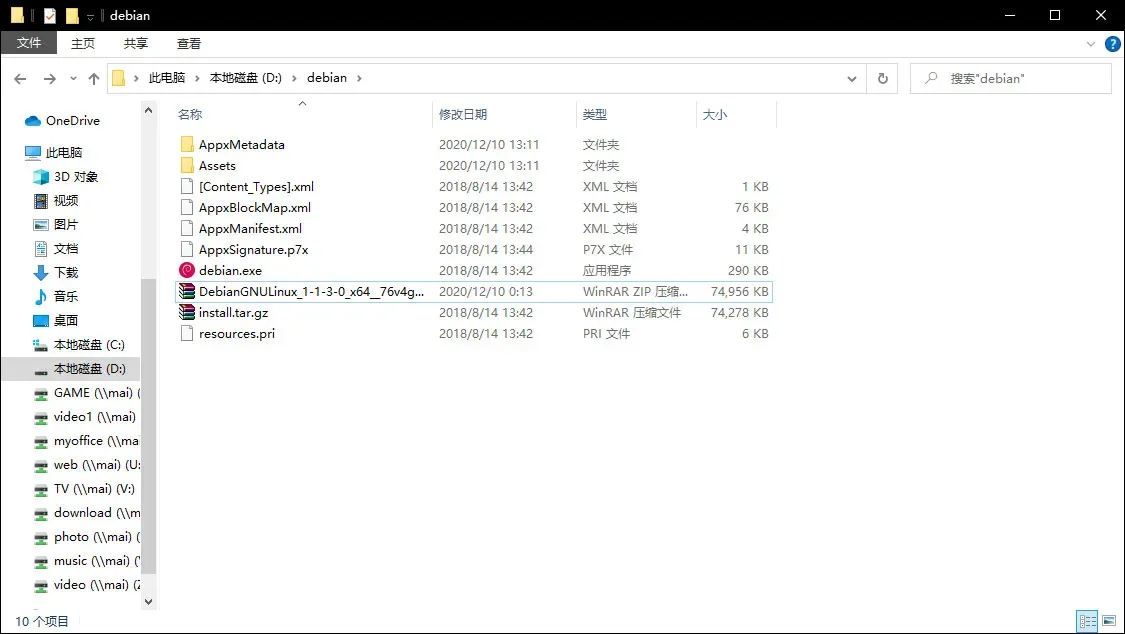
打开 debian.exe 安装。
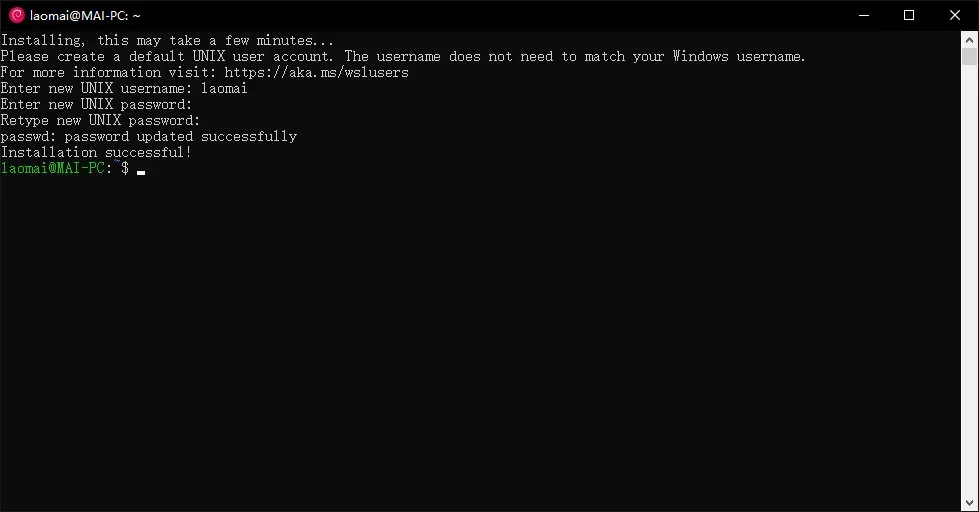
设置好用户名和密码,这样子系统已经安装完成了。这时看一下我们刚才解压文件的目录就会多出一个 rootfs 文件夹,这个 rootfs 文件夹就是保存 Debian 子系统的目录了。
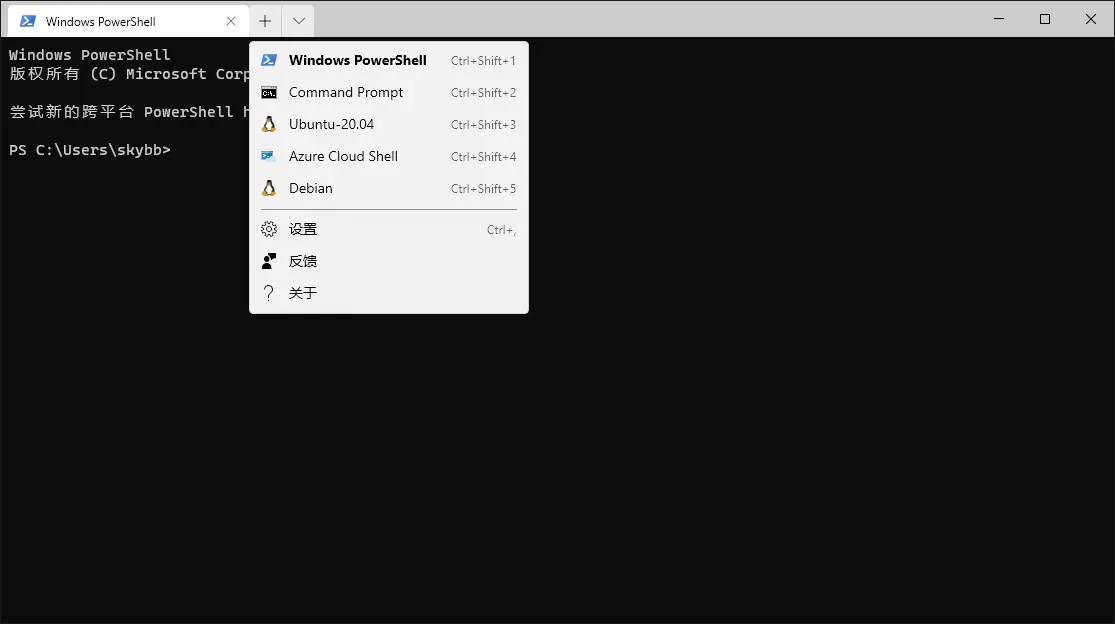
重新打开 Windows Terminal,点一下地址栏上的展开小箭头,就会多出一个选项 Debian,一键就能进入子系统,十分方便。
思考
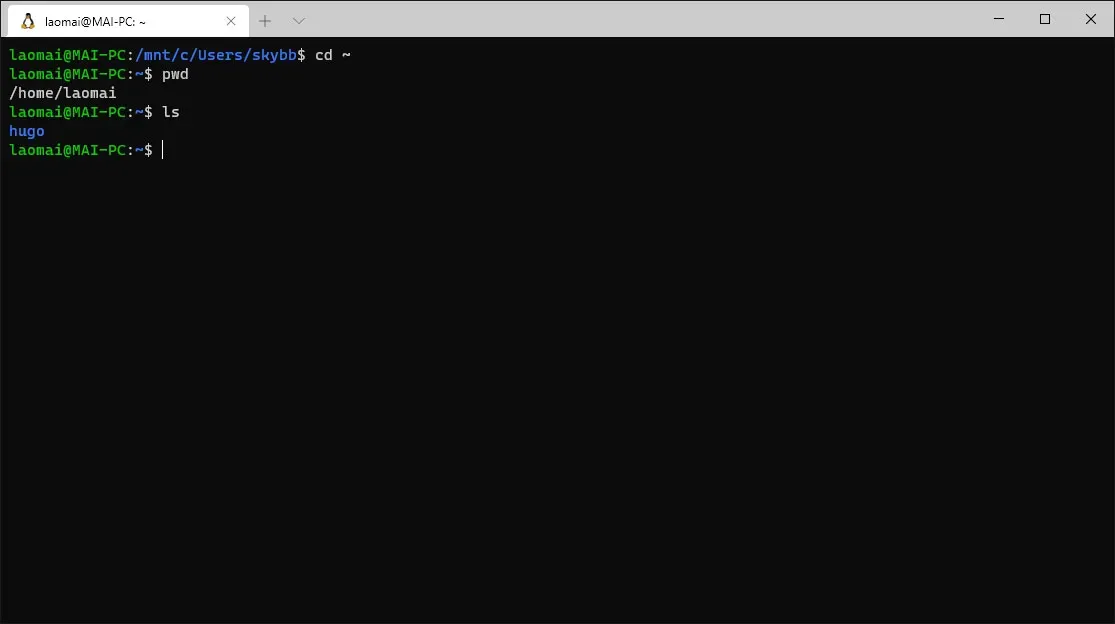
这样子使用了两天后,发现比在虚拟机上安装和使用都简单得多,而且使用起来也特别顺手,比如说,我在 Windows 上在子系统的 laomai 文件夹里新建一个 hugo 的目录,在终端上就可以立马查询得到。还有,复制的命令也如此,直接就能在终端上进行粘贴。
以下是与子系统相关的几个命令
命令在 Windows 上使用 CMD 或者 PowerShell 运行。
# 查看安装的子系统列表
wsl.exe --list

# 关闭子系统 wsl.exe --terminate <子系统名称>
wsl.exe --terminate Debian

# 导出子系统 wsl --export <子系统名称> <保存的路径>
wsl --export Debian D:\Mai\Debian.tar

# 导入子系统 wsl.exe --import <新的子系统名称> <新的子系统路径> <要导入子系统的tar压缩文件路径及名称>
wsl.exe --import newDebian D:\Mai\newDebian D:\Mai\Debian.tar

# 运行刚刚导入的子系统 wsl --distribution <新的子系统名称>
wsl --distribution newDebian

# 注销/删除子系统 wsl.exe --unregister <子系统名称>
wsl.exe --unregister Debian